P4G Vita
This guide was written by Dexxtrip on Gamebanana / @bonq.com on Discord.
This guide covers the process of porting font mods from Persona 4 Golden on PC to Vita.
Table of contents
Required Tools
| Tool | Usage |
|---|---|
| Persona Editor | Needed for fixing spacing and alignment issues with fonts. |
| A complete dump of the game | Needed for working with the base files. |
| A photo editor of choice | Needed for resizing the exported texture file |
Before we get started.
Before you get started porting a font, double check that it hasn’t already been ported by me. At the time of writing, almost all fonts have been ported and published by me already.
In the off chance more have been posted since then, go with those. For the remainder of this guide I’ll be demonstrating with the Comic Sans font mod.
Porting Fonts
First, download your font and open it in Persona Editor, the file should be called font0.fnt.
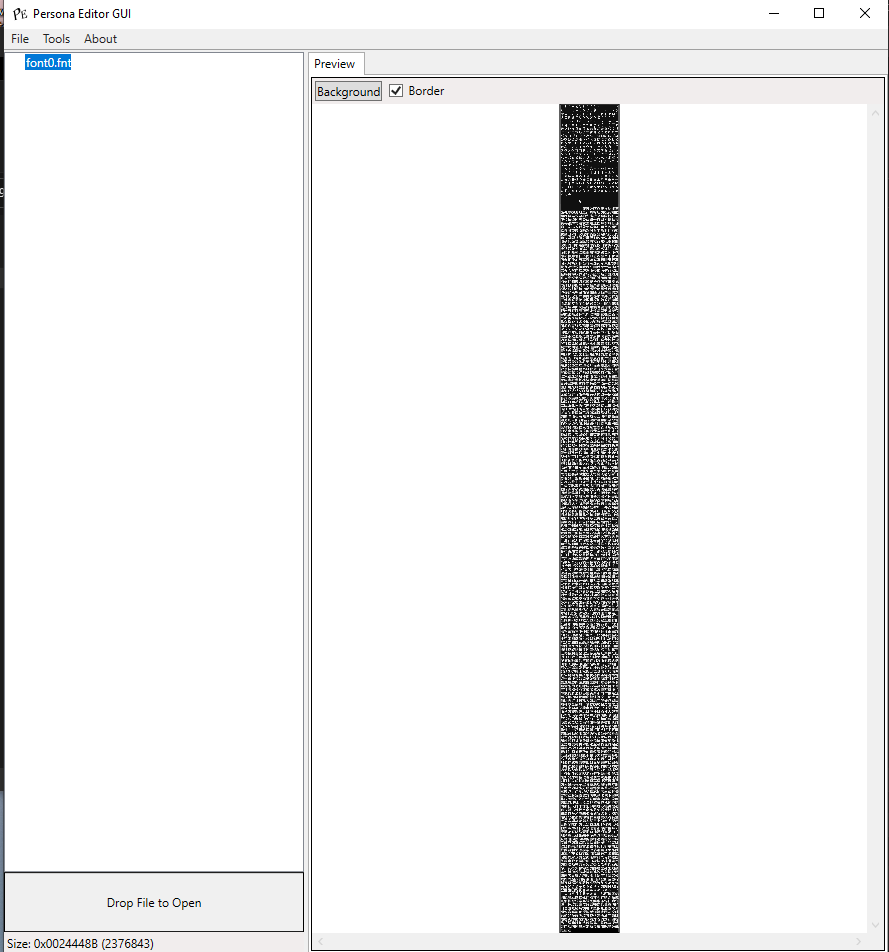
Once opened, right click the .fnt file and click Save As. In the new window change the file type to PNG.

Now, in a photo editor of choice, such as Magick, IMBatch, or Photoshop, resize the image by 50%.

Once resized, navigate to your dumped copy of the game and open init.bin in Persona Editor.
Extract the font0.fnt file and save it somewhere safe.
Open up the new font file again in Persona Editor, right click it and click Replace, then navigate to the .PNG file you extracted from the original font file. Change the file type to PNG and open it.
Wait some time for the file to be finished inserting. You’ll know when it finishes because the window will refresh.
Half of the work is done, now we need to fix the spacing on the characters.
Fixing the spacing
In Persona Editor, double click on the opened file to open the editor window.
The editor window looks like this:
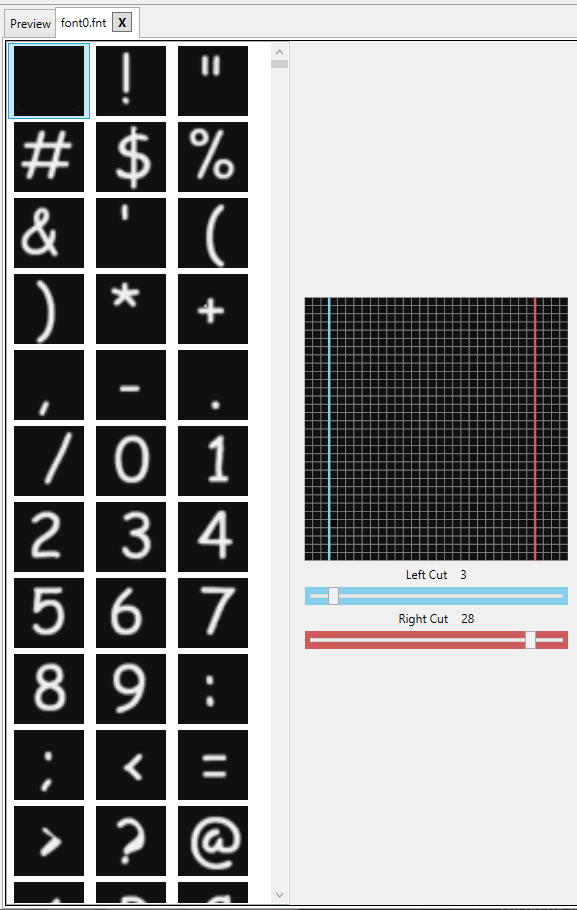
Now here comes the hard part, you now need to go in and fix the spacing on every necessary character.
A good frame of reference is to align the Left Cut to be touching the most outer light edge of the character, and the Right Cut to be one pixel away from the edge of the character. Like this:
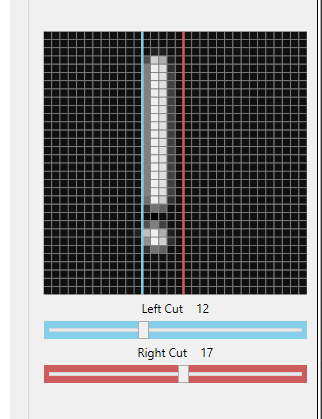
Repeat this for every character that appears in the English game.
Once you are finished, we can either move over to testing in game or optionally add a way to test in game fonts easier.
Font Test Tool (Optional)
Now, we’re going to add an optional package to our P4G Vita build to make testing mods easier.
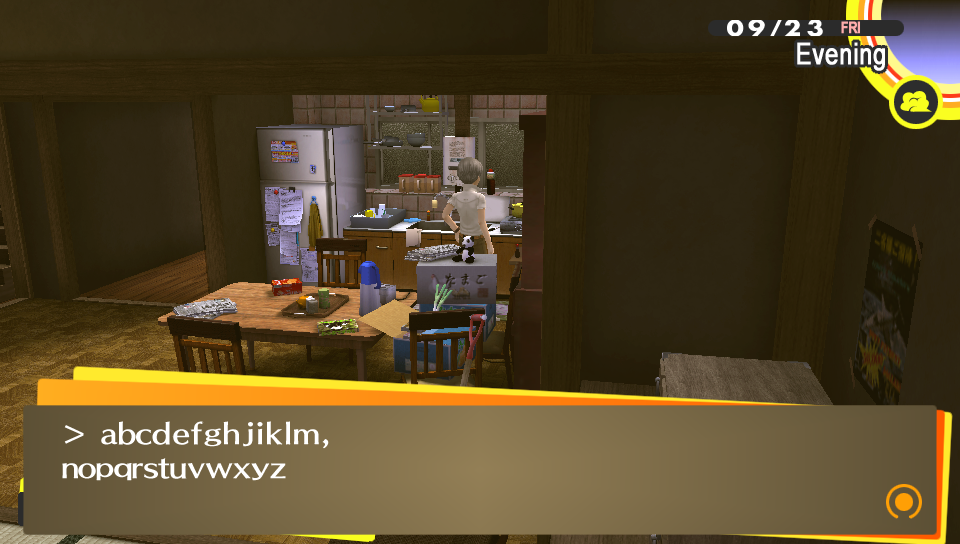
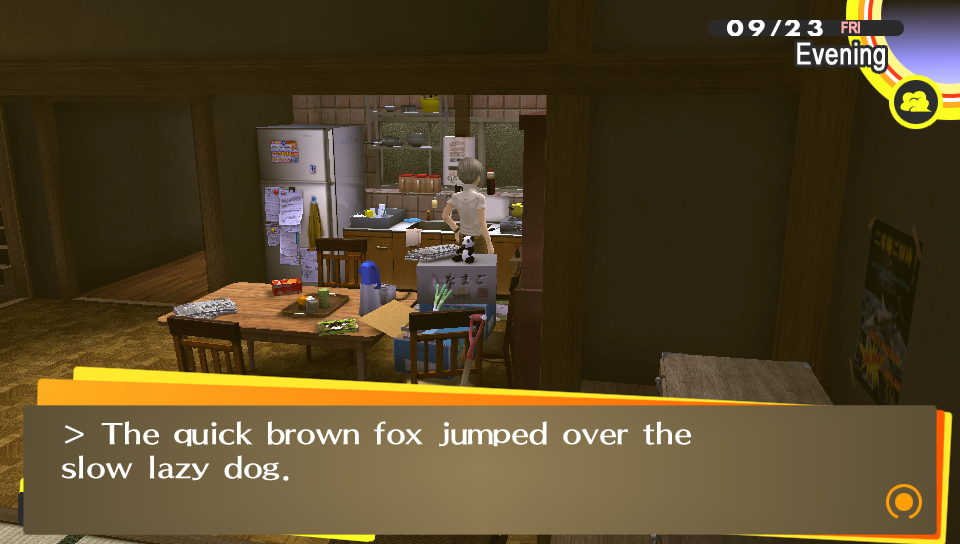
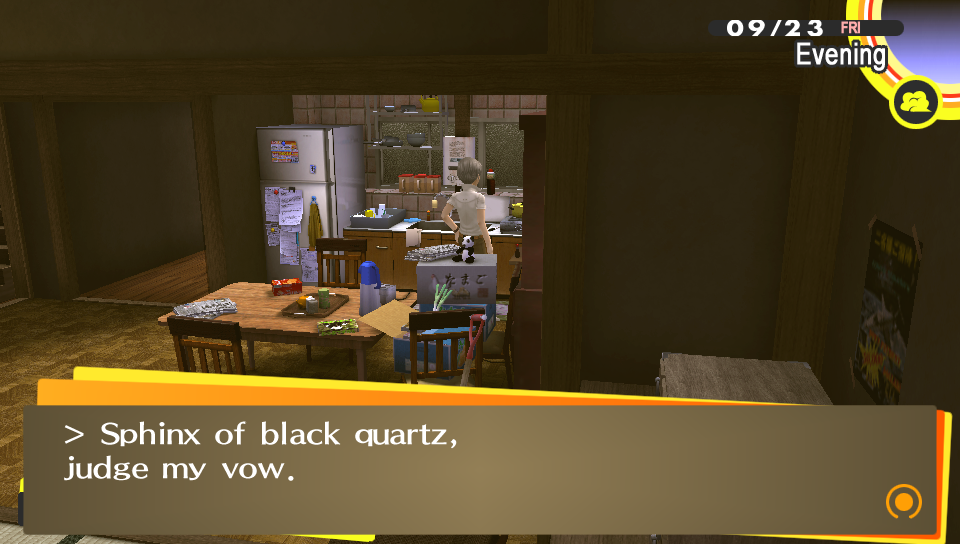
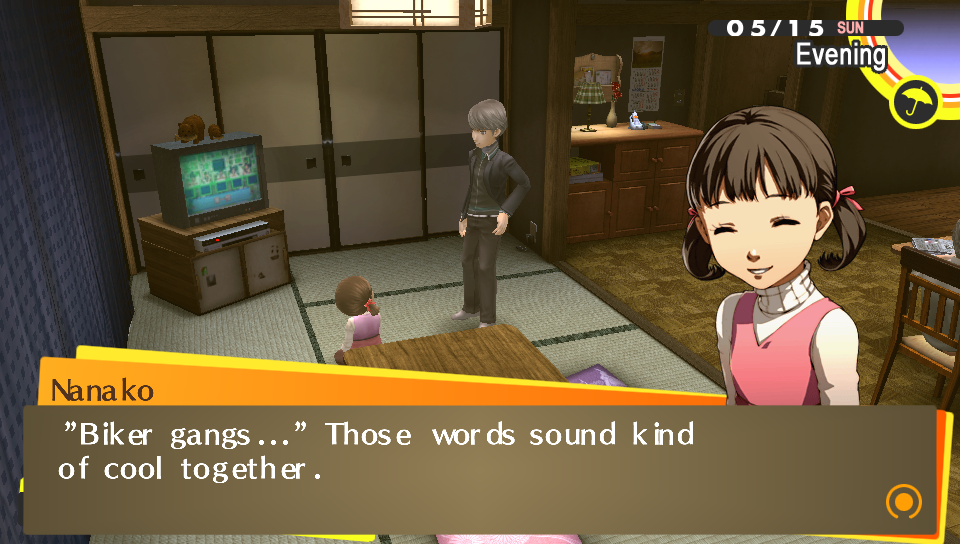
Here you can download a flowscript mod I made that adds dialogue to the kitchen sink in your house, allowing you to quickly check all characters, as well as how they look in sentences.
Once you’ve got the mod built and tested, let’s go over how the mod should and should not perform.
Testing in game
Now that you’re in game, let’s go over some visual examples.
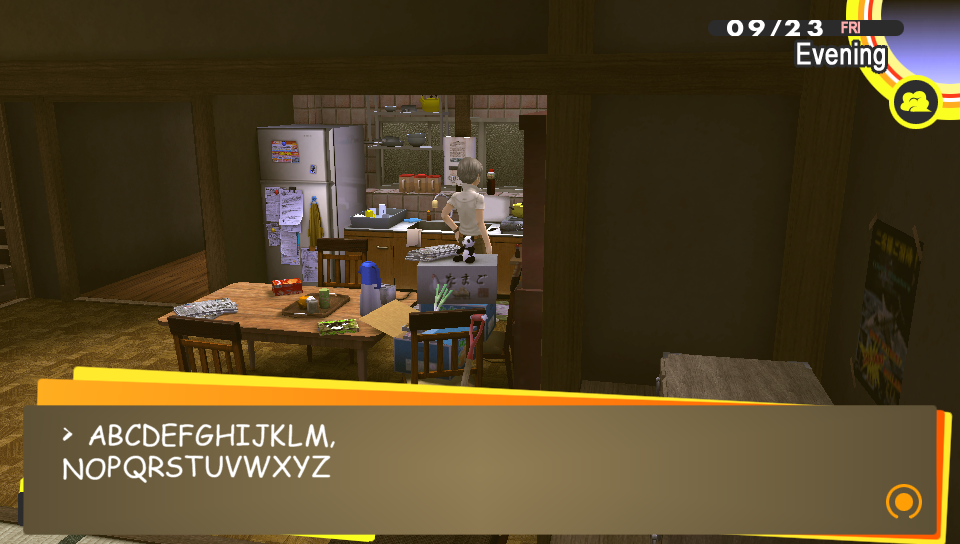
Broken text like this is indicative of incorrect spacing with font mods. If your text looks like this, make sure you actually saved your spacing changes in Persona Editor before packaging.
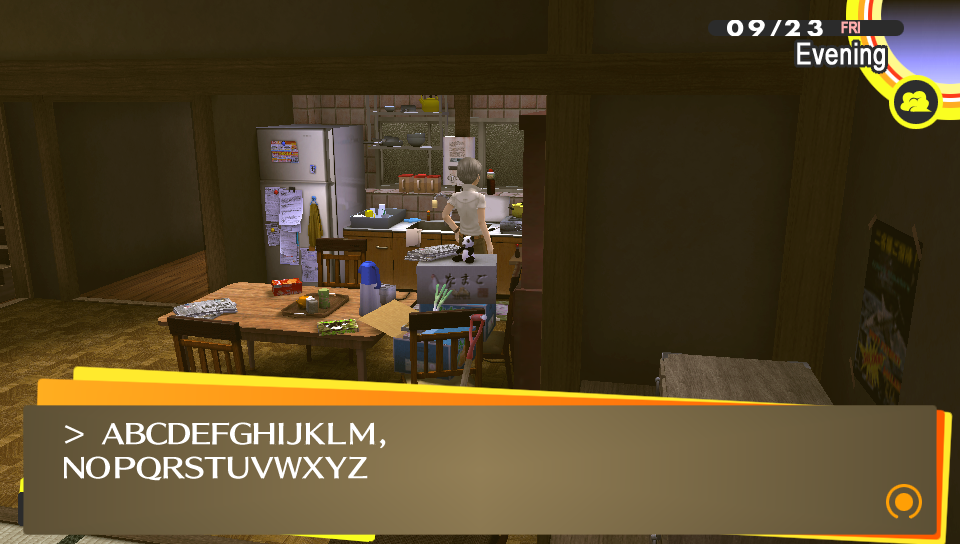
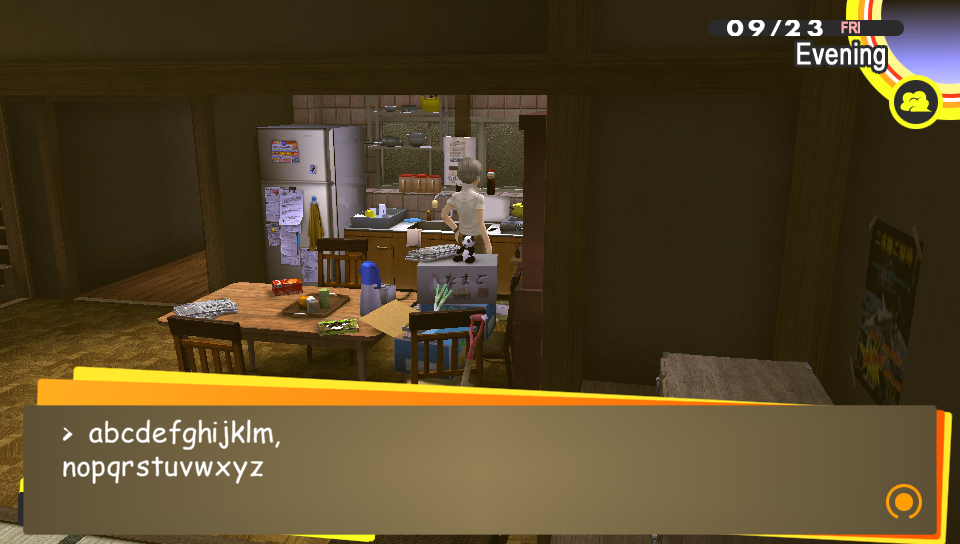
Correct font spacing looks like this.
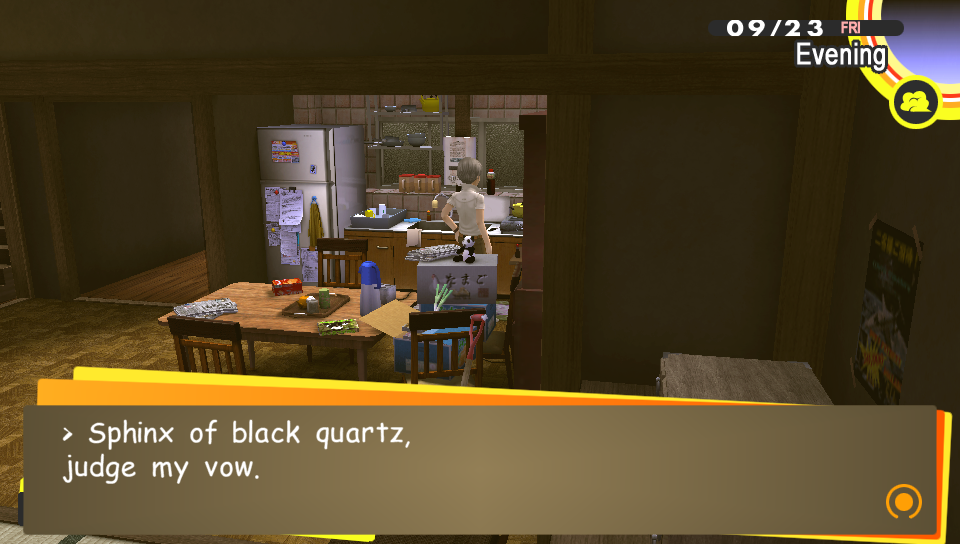
Here I am demonstrating with the Comic Sans font mod that I ported for this tutorial.

If you’ve confirmed that your font is working as it should, congrats! You’ve successfully ported a font mod to Persona 4 Golden on Vita.
In the next section we’ll go over some potential issues you may have faced.
Troubleshooting
- The new font image won’t actually insert
- This is a simple mistake to make. When in Persona Editor, make sure that you have the Vita font file open before inserting the picture. If you have the PC font file open and try to insert a texture that is of a lower quality, then it won’t insert, it’ll just refresh.
- The model is too dark.
- You most likely forgot to fix the materials like I suggested. Go back to your GMS file and copy the material data from an existing Persona in the base game and paste it into your model’s material data.